Chocolate Chip Cookie Shot Recipe
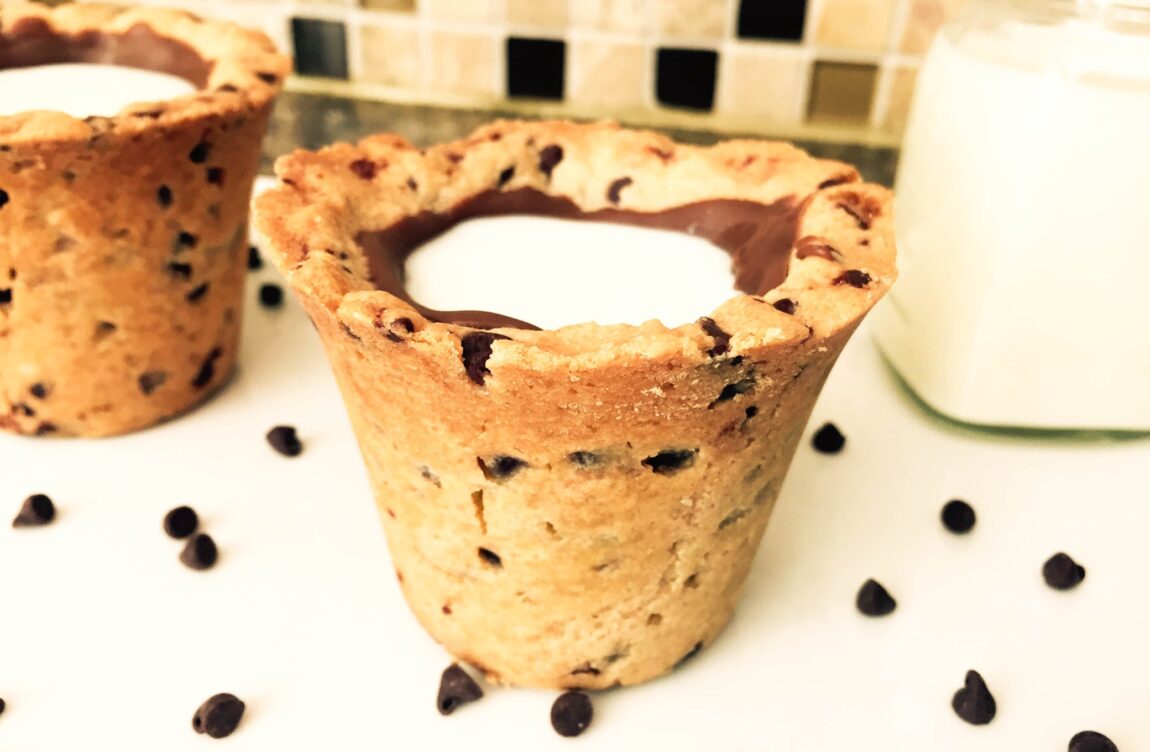
I first saw a chocolate chip cookie shot a few months ago and knew I had to try it. Fortunately, the sleepover that I was planning for my daughter’s birthday gave me the perfect excuse.
The chocolate chip cookie shot was originally created by world-renowned pastry chef Dominique Ansel of cronut fame, but I used recipe that I modified from POPSUGAR.
Before you begin, note that you will need a mold for the shots. I used a popover pan that I bought online. I didn’t realize how big it was so my finished cookie shots are a bit large. I think a mini popover pan might have worked better. Or at least made a smaller cookie. You can also use a stainless steel shot glass or a rum baba mold.
Chocolate Chip Cookie Shot Recipe
Ingredients
- 1 cup unsalted butter at room temperature
- 1/3 cup granulated sugar
- 1/2 cup light brown sugar
- 1 large egg yolk
- 2 teaspoons vanilla extract
- 2 1/2 cups sifted all-purpose flour
- 1/2 teaspoon salt
- 1 cup semi-sweet mini chocolate chips
- 1 cup dark-chocolate candy melts
- Milk to fill the finished shots
- Parchment paper
Instructions
- Preheat oven to 350° and grease your cookie shot molds. I used crisco but I guess cooking spray would also work.
- Whisk flour and salt together in a medium bowl. Set aside.
- In a large bowl, use an electric mixer to cream the butter. Mix in the brown and granulated sugars. Add the egg yolk and vanilla extract, and mix until completely incorporated.
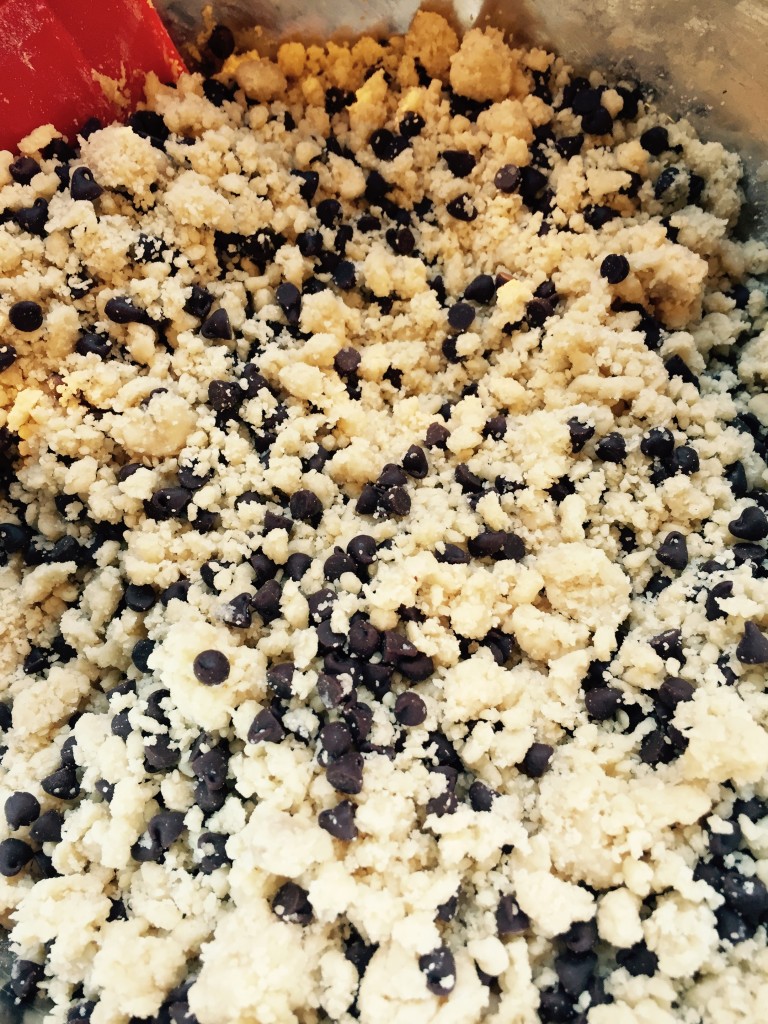
- Gradually add the flour mixture and mix until completely incorporated. Add the mini chocolate chips, and mix together until evenly distributed. The dough will be a a bit crumbly at this point.
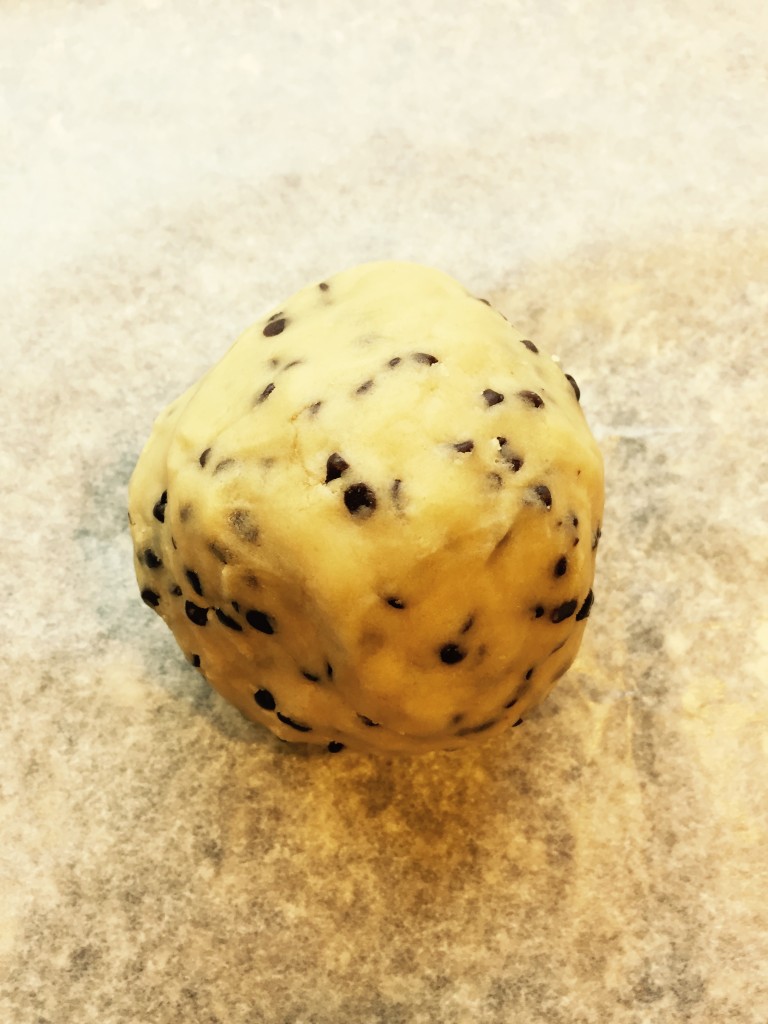
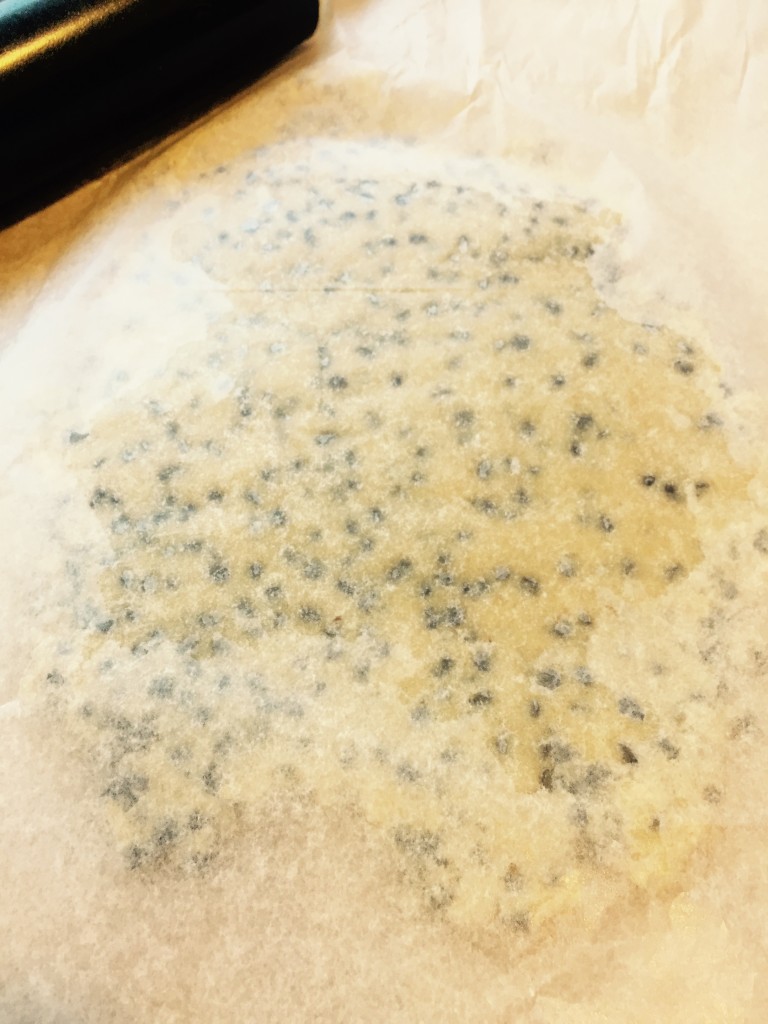
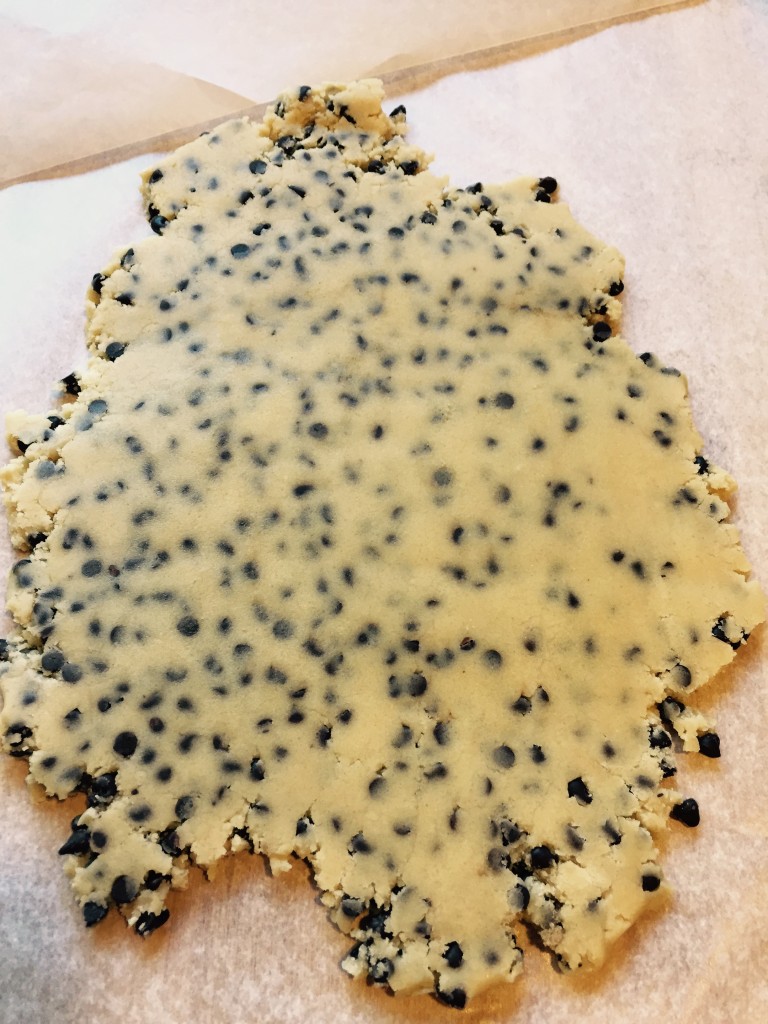
- Divide the cookie dough in half. Form each half into a ball. Place one ball on a piece of parchment paper. Flatten and place another piece of parchment paper on top. Using a rolling pin, roll the cookie dough until it is about a 1/4 inch thick. Repeat the process for the other half of the cookie dough.
- Leave the cookie dough on the parchment paper and place on top of a cookie sheet or a flat tray. Place in the refrigerator and let chill for at least 30 minutes (you can chill overnight if you prefer).
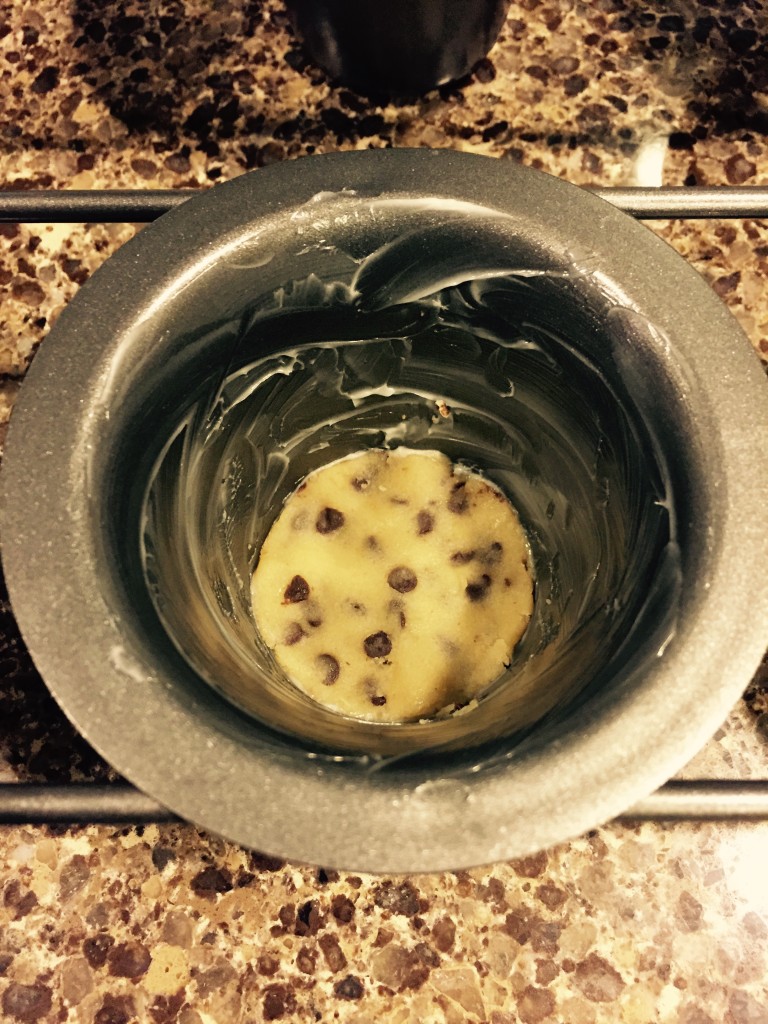
- When you are ready to assemble the cookie shots, remove one sheet of cookie dough from the refrigerator. I used a shot glass to press out a circle shape to place in the bottom of the mold. A small circle cookie cutter would work as well.
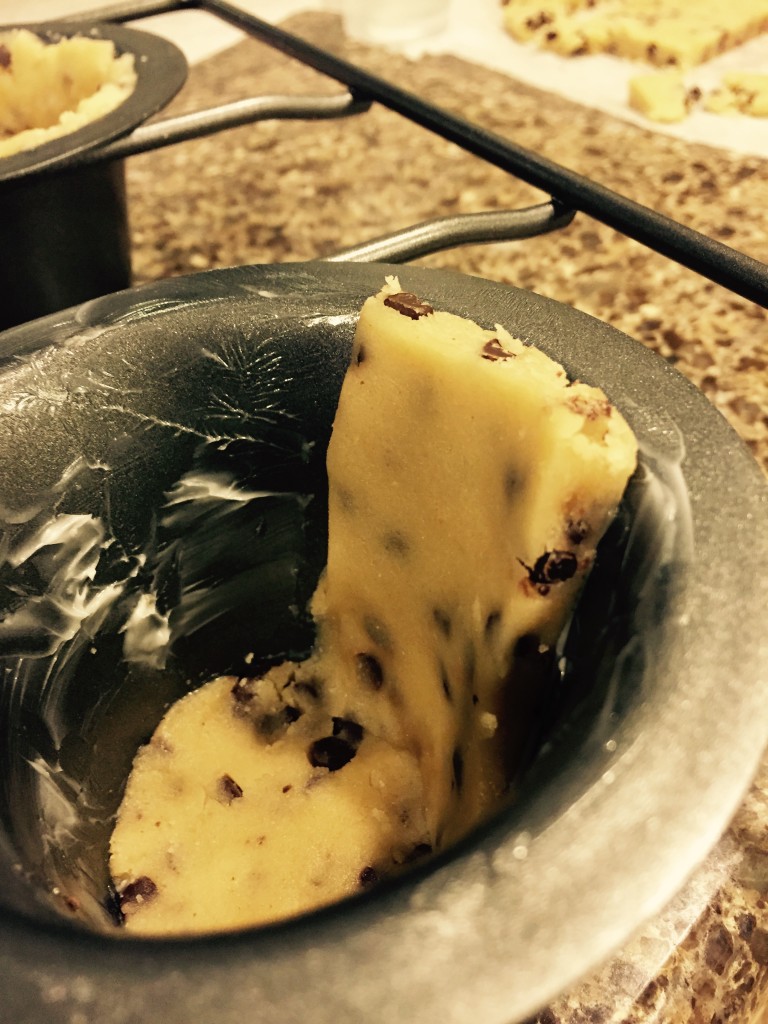
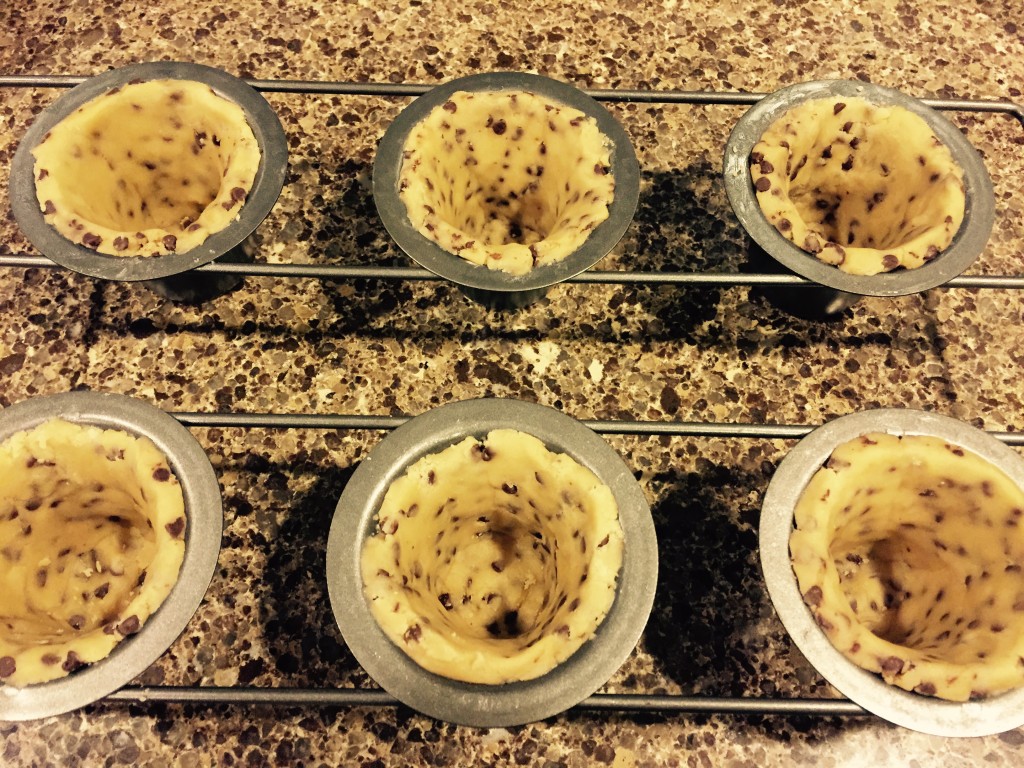
- Cut the cookie dough into rectangles according to the height of your mold. Then cut into smaller strips. I know it looks like you could take a larger section to curl into the mold. But the cookie dough will break apart. So you will need to use several strips of cookie dough to fill your mold. Once the mold is filled, use your finger to gently press the strips and the bottom together to make sure it is sealed and there are no cracks.
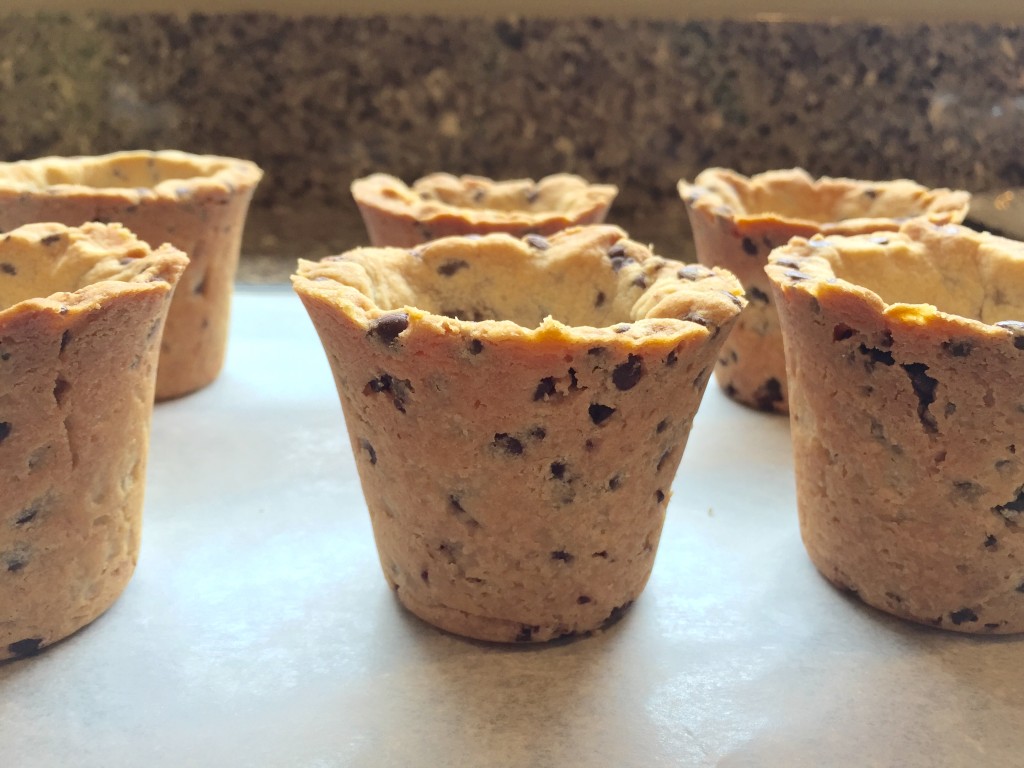
- Bake for 17-20 minutes or until the cookies starts to brown. Remove from oven and let cool completely. If you attempt to remove the cookies before they have cooled, they will break.
- Gently twist the cookie to release it from the mold. They should slide right out.
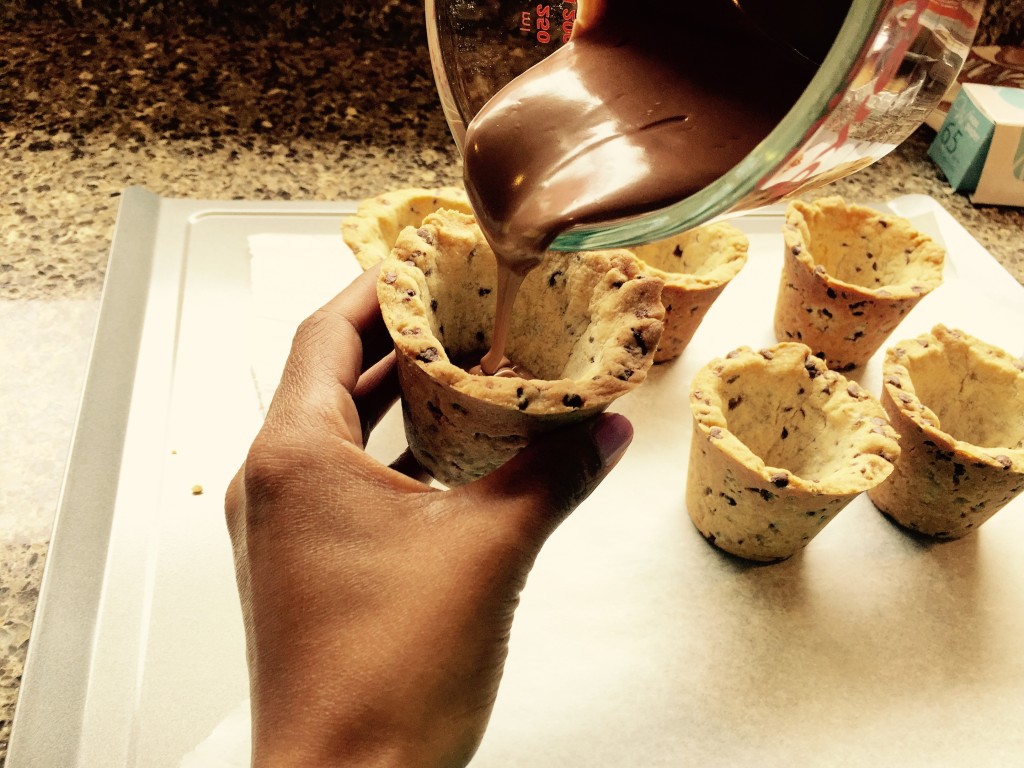
- Put the candy melts in a glass bowl or cup and microwave for 30 second intervals, stirring well between each interval. Because the candy melts dry quickly, you will need to work with one cookie at a time. Slowly pour a bit of chocolate into the cookie mold. Roll the cookie around until the inside is completely covered. Add more chocolate if you need to. It doesn't need to be a thick coat of chocolate, it just needs to be covered so that it forms a seal. Turn the cookie upside down to pour the excess chocolate back into the bowl.
- Once the cookie molds have all been coated with chocolate, put them in the refrigerator until the chocolate has set.
- Fill cookie molds with milk and serve.
The girls absolutely loved them! Journey didn’t try them of course (she doesn’t eat chocolate), but she enjoyed getting props for having such a cool snack at her party.

